Scale Modelling Tips: Essential Abrasives and Sanding Guide
Whether you’re working with wood, metal, or plastic, at some point in your scale modelling experience you’ll likely need to use an abrasive product. From removing rough edges, to shaping and prepping a model before painting or finishing, abrasives are one of the most useful tools in any avid modeller’s armoury. As with other key products such as glue and paint, different abrasives suit different materials and situations. To make things easy, we’ve created this handy abrasives guide to help you master your scale model projects!
It’s all about the grading
Depending on the task at hand, you’ll need a variety of different “graded” abrasives to achieve your desired result. The grading is defined by the size of the particles on the backing material (usually paper or cloth). Typical grades are extra fine, fine, medium, coarse, and extra coarse, with subgrades within each of these categories. Abrasives are also defined by the spacing of the particles on the backing. Wide spaced or “open coat” abrasives are best suited for smoothing painted products, while “closed coat” abrasives have tightly-packed grains designed for fast cutting.
Typical grades are extra fine, fine, medium, coarse, and extra coarse
Most common abrasive types
Sandpaper – despite the name, sand is no longer used to make this product, replaced by other more effective abrasives such as aluminium oxide and silicon carbide. Of these, aluminium oxide is the most common, has the widest range of grits, and can be used on metal or wood. Silicon carbide is available in very coarse grades, and is commonly used for wet applications.
Garnet paper – commonly used for woodworking, this product has a harder grit which provides a finer finish, and can be used to shape soft to hard woods, such as balsa and plywood.
Emery paper and cloth – particularly suited to flat surfaces, this is typically used for polishing metals, with its strength and versatility ideal for smoothing tightly curved metal.
Wet-and-dry paper – as the name suggests, this product is ideal for both wet and dry work, and is great for the fine shaping of plastic and wood. When water is added, it offers an even finer finish. During wet use, a slurry is produced which should be wiped away periodically, and the abrasive itself should be dipped in water regularly to remove any clogged material.
When smoothing a piece of wood, always sand with the grain instead of across to avoid making scratches
Finishing a surface
Finishing is a major component of scale modelling, especially when building historic models such as famous warships or planes. By using progressively finer grades, sanding gradually can remove any unwanted blemishes, scratches or marks, and gives you a smooth surface on which to add paint or varnish.
When smoothing a piece of wood, always sand with the grain instead of across to avoid making scratches – these may not be visible immediately, but might appear once you have added paint. If you intend to add clear varnish, dampen the wood first to encourage its fibres to rise. Once the wood has dried again, sand it with your finest abrasive.
As there is no grain on plastic models, you are free to sand them in any direction you choose
If you are working with balsa or another open-grain wood, we advise brushing on a sealant to fill the grain first. Once it has soaked in and the wood is dry, sand the surface with your fine-grade abrasive. Follow these steps 1-2 more times using finer abrasive each time to ensure an even, smooth finish.
As there is no grain on plastic models, you are free to sand them in any direction you choose. Once you have removed any scratches or marks, use a liquid metal polish to achieve the best result.
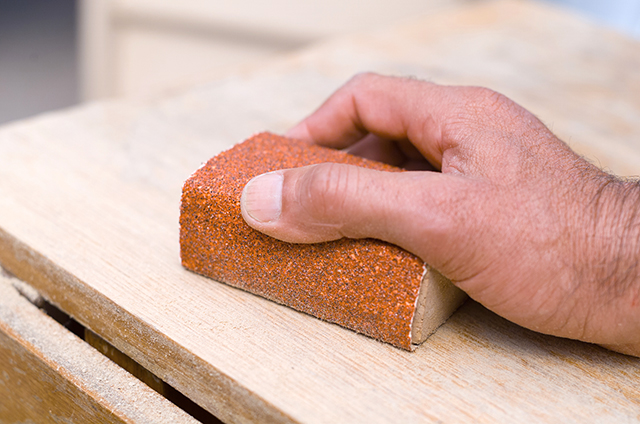
Sanding blocks for flat surfaces
When working on a model that has large, flat surfaces, it is often more effective to use a sanding block. Not only will this approach prove more efficient, it is also the best way to avoid producing hollows on the surface caused by finger sanding. Choose a strip of abrasive in the desired grade and wrap it around a suitable block of wood, then carry on as normal. Note: keep the sanding block when sanding to the edge of your surface to avoid rounding off the sharp edges.
Sanding small objects
Scale models often come with smaller components which are not able to be sanded using the above method. In such instances, wet the tip of your finger and pick up the small piece, then move it across the surface of the abrasive in a smooth motion. Use wet-and-dry paper with water when using this method for plastic parts.
How often do you use abrasives for your scale model projects, and what are your go-to techniques? Please let us know in the comments or on our social media channels, and make sure you check out our other guide blogs or our ModelSpace Forum for more handy scale model advice!


