How to Build Model Ships – Part Three | ModelSpace
If you’ve made it to this blog, you’re hopefully close to finishing your scale model ship – congratulations for all your efforts so far. In case you missed our previous blogs, check out part one for tips on choosing your model ships, tools you will need, and advice for your first build stages. In part two we include more tips for the build stages, specifically around adding the hull planks and deck. In this, our third and final stage, we’ll cover some of the key areas of finishing your model. So read on for more great tips, and let’s get your completed scale model ship afloat!
Sealing or painting your model ship hull and deck
With your ship’s hull and deck assembled, the next step is to coat it with paint, sealant, or stains. Following your specific scale model’s instructions are recommended for best results, but we do have a few additional suggestions to help you:
- No matter the model, most scale model ships should receive either a sealant or wood stain to help protect the wood and help it stand the test of time.
- Referencing historical photos can help take your build to the next level – this is particularly useful for colour accuracy.
- For a different look, you can try a polyurethane stain or matte finish.
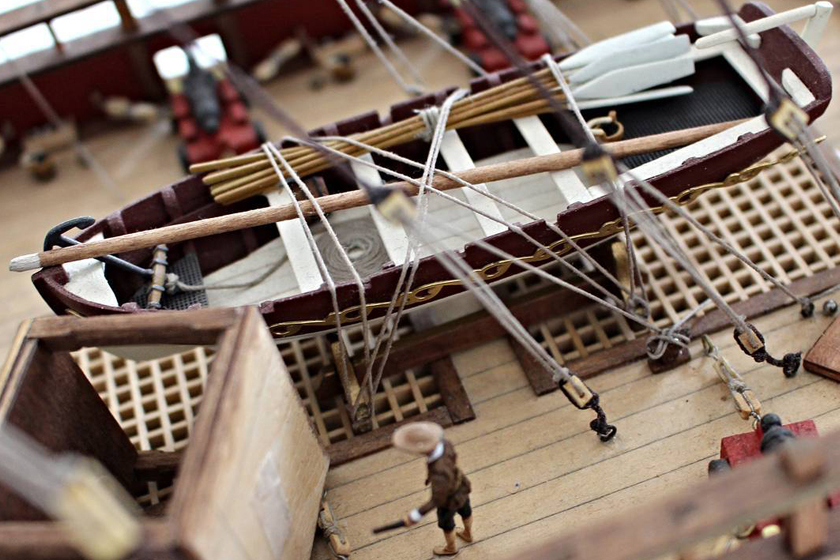
Adding final details to your model ship
Sealing, staining, or painting your ship’s hull and deck will help bring your scale model to life. But a ship is much more than its hull and deck, and so is a scale model ship. Adding the next details can be intricate work, and we recommend remaining patient and following your kit’s instructions closely. But, if done right, the results will speak for themselves. Below are just some of the final details to add historical accuracy and realism to your model ship:
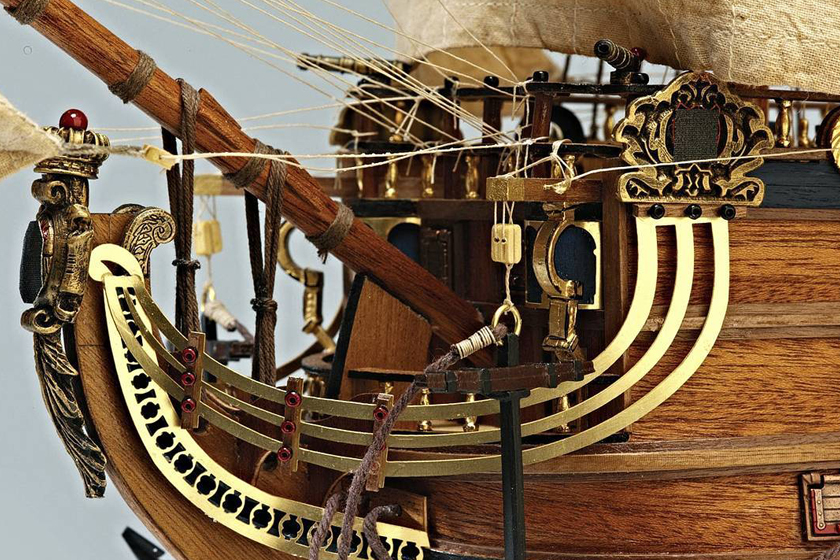
- Figurehead
- Masts
- Sails
- Quarterdeck
- Wheel
- Rigging
- Cannons
- Crew
Once you’ve added all of your final details, step back and look at your ship. Take it in. Check it over. Check it again. Make sure there is nothing out of place, and that you don’t have any spare pieces left over. If you do, go back through your instructions and identify exactly where they should go.
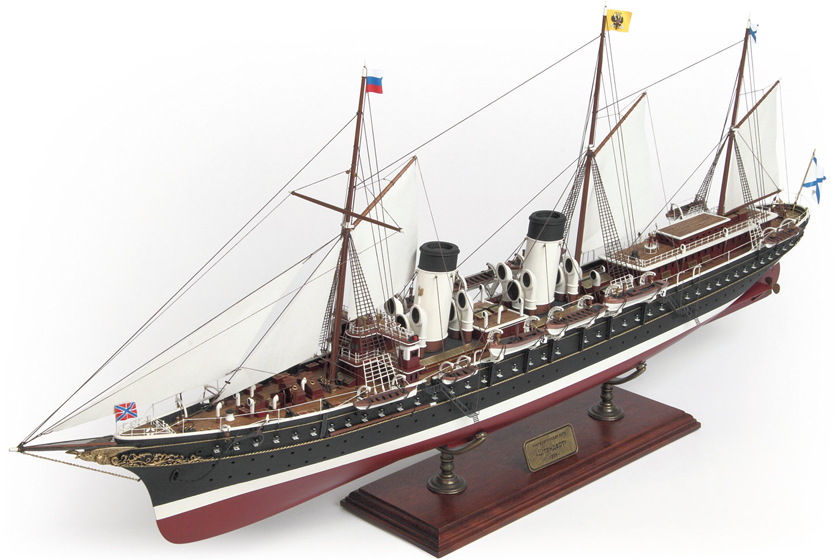
Displaying your model ships
Now that you’ve finished your scale model ship build, what comes next? First of all, take some time to bask in the glory of completing your project. You have put in multiple hours of hard work and energy, and you’ve come out the other side with something you can truly be proud of.
The next step – displaying it for all to see. If you’ve gone with a large scale model ship, the size may dictate exactly where you can put it. But whether you secure it in a glass case, or keep it out in the open, keep in mind the lighting. A great ship should have sufficient lighting to make it stand out, but too much direct sunlight may cause fading over time. Finally, if you have children or pets, you may want to take additional measures to keep your model secure – model ships are particularly fragile!
Though it often involves hundreds of hours of intricate work, model ship building is a truly rewarding hobby. What are your favourite scale model ships? If you’ve completed a ModelSpace ship, or are currently working on one, be sure to share your build photos on social media and use the #modelspacecommunity hashtag to be featured!


The detailing in this model is simply breathtaking. It shows how much effort has been put to design this ship model. Great job and thanks for shaing